post

Naxxramas Boss Guide – Kel’Thuzad

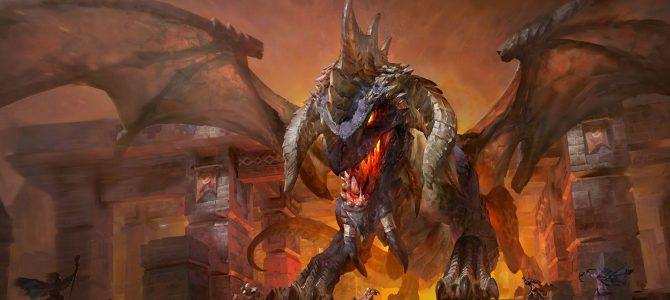
The following is a Guide for the Final boss of Vanilla World of Warcraft Raid Progression, Kel’Thuzad.

This text segment by Isringhaus follows up on the video created by Raserisk

PHASE 1 – Waves

Let’s start by covering Phase one of the encounter.
Phase one starts after your raid steps into the center
of the room. KT will begin with a short monologue and the
raid is surrounded on all sides. This phase will last for 5
minutes, and during wich KT will send waves of enemies at the raid.

These waves start out slow,
increasing in speed as the phase continues,
and are made up of several unique adds with different abilities.

Soldiers:

Very slow movement speed,
can be shackled. Are easily killed by 2-3 abilities.
Soldiers can use Dark blast.
This is an AoE of 2500-3100 shadow damage
This ability occurs when the Soldier gets into
Melee range with a member of the raid, and kills the soldier in the process.
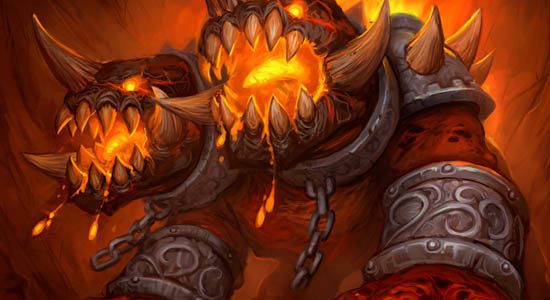
Abominations:

Incredibly hard hitting Melee adds That can
apply a mortal wounds debuff on the tank,
making them a priority target for the melee DPS
to focus them down. The mortal wounds debuff can stack,
So tanks will need to rotate to prevent it stacking too high.
Healing is reduced by 10% per stack.
it is Important to note The abominations are
vulnerable to being disarmed, wich can help deal
with some of the damage.

Soul Weaver:

Very slow movement speed, and only attacks when near
the target they are aggroed on. Ranged DPS should primarily
be focusing on these adds. When they get close they will use
Wail of souls, dealing 6300-8600 shadow damage
to multiple targets, as well as knocking them back.
They can change aggro targets quickly, so make sure
never to get close to these.

PHASE 2 – Kel’Thuzad’s abilities

After surviving for roughly 5 minutes, Phase 2 will begin
and Kel’thuzad becomes active. Quickly deal with any
remaining adds before moving on to deal with him.

Frost Bolt

Deals 9,000-11,000 Frost damage to his current target,
casting these at random intervals.
Melee DPS must rotate interrupting these,
as even one frost bolt getting through can easily result in your main tank getting killed.

Frost Bolt Volley

Every 15 seconds, Kel’Thuzad will cast a frost bolt at every member of the raid,
Dealing 2700-3500 frost damage.
This damage can be completely resisted with high enough resistance.

Chains of Kel’Thuzad

Every 60 seconds, Kel’Thuzad will cast mind control on the main tank, and 4 other raid members.
When this ability is used, it results in a complete aggro wipe.
All DPS should stop roughly 5 seconds before this ability,
with mages and warlocks focusing on using CC to control the mind controlled targets.

Mana Detonation

Periodically throughout the fight Kel’Thuzad will place this debuff on random raid members who use mana.
This causes them to explode after 4 seconds,
Dealing damage based on how much maximum mana they have in a 10yd AoE,
as well as burning half of the original targets current mana pool.
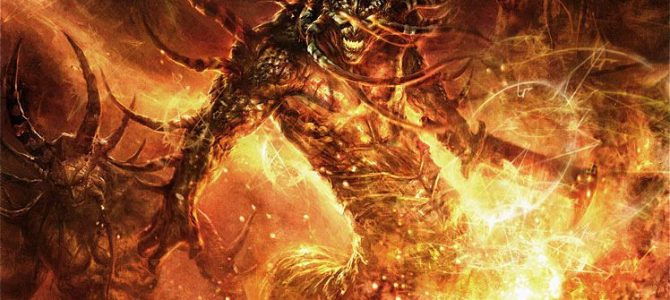
Frost Blast

Periodically during the fight Kel’Thuzad will target random
players with a Frost blast, Dealing 130% of the targets HP
over 5 seconds and freezing them solid.
Healers must react quickly to heal affected
raid members through the damage as this ability can kill
its targets very quickly. This ability will also
chain to other targets within 10yd of the original target.
This means that players must remain spread out throughout
the fight.

Shadow Fissure

Kel’Thuzad will periodically place a red circle beneath players
feet that will kill them after 3 seconds if they don’t move
out of the circle. These are fairly easy to avoid as long
as all the players are paying attention during the fight.

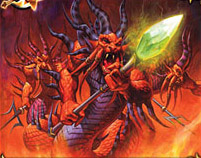
Phase 3 – Ice crown guardians

After the raid Reduces KT’s health to 40%, this will begin
phase 3. Five Ice crown guardians will spawn to assist
KT at this point. Three of these can be shackled by preists,
but the remaining two must be picked up by tanks or kited.

These Ice crown guardians have an ability called Blood tap,
Granting them +15% DMG and +10% size per stack up to 99.
They gain one stack when they change targets, and All 5
gain one stack anytime a raid member dies.

Wrap Up

That pretty much wraps it up for this guide. Kel-thuzad is
one of the hardest encounters in Vanilla WoW, but by
keeping this information in mind, you should have no problems.

post

Molten Core Boss Guide – Lucifron

This guide is for Lucifron the first boss of Molten Core.


This fight is difficult and requires more than just good healing and lots of dps. It will take coordination and paying attention to your specific roles. One mage not decursing can really mess up the fight for everyone. You will need to bring your A game to this fight and not be discouraged if you don’t down him on your first try.

This text segment by Isringhaus follows up on the video created by Raserisk

Preperation

Restorative Potions and Shadow Potions can make this fight a lot easier.

The Fight

Pull the first and second core-hound pack before pulling the boss, this way you have room for the fight.
Stay away from the tunnel you came from due to respawns and mobs that may still be around.

Start the fight with the hunters using distracting shot to seperate the ads and let the offtank / main tank pick up their targets before beginning to DPS.

Once you manage to execute the pull successfully that’s 1/3 of the fight.

Flamewaker Protector Abilities

Cleave

The ads cleave, they need to be faced away and isolated from the raid.

Mind Control

The ads can also Mind Control, try not to kill the mind controlled players and keep them CC’d if possible until a priest can dispel the ability.

Lucifron Abilities

Impending Doom

This is a debuff applied to all players within 40 yards and does 2000 shadow damage after 10 seconds. This ability has to be dispelled or it will quickly wipe your raid.

Lucifron’s Curse

Increases the cost of all abilities by 100%. (Mana, Energy, etc.) Your Mages and Druids need to be on their A game here or your raids DPS & Healing will start crawling.

Shadow Shock

This is an AOE ability that Lucifron uses on players close to him and does low shadow damage. Shadow pots can help with this but aren’t required.

Wrapping up

Once both ads are down, you can just focus on the boss and it should be smooth sailing. Once your raid has Molten Core on farm status, you can just stack all 3 together and cleave them down. This fight is all about teaching the basics to new players, managing dispels and decurses. If your raid has these mechanics down, this boss shouldn’t be an issue.

post

Molten Core Boss Guide – Magmadar

This is a guide on Magmadar the second boss of Molten Core.

This is a pretty straight forward boss fight with a few abilities to watch out for. Mainly it’s just a tank & spank encounter.

This text segment by Isringhaus follows up on the video created by Raserisk

The Fight

To start off the fight, when the boss is pulled, the tank will want to turn him sideways and most importantly, make sure he is in a position where his AOE abilities won’t be affecting the casters and ranged DPS.

Lava Breath

The first ability that should only affect the main tank is his Lava Breath. This is a short range cone of fire that hits anyone in front of him for moderate fire damage.

AOE Fear

Melee DPS players will be affected by Magma Spit, which is a low damage fire dot that can add up over time. It’s not that big of a deal but healers need to toss out heals every so often to keep on top of it.

Casters and Range DPS need to be at max range or they will get hit by Magmadar’s fear which has a 30 yard radius and happens periodically during the encounter.

The main tank will need to stance dance or use fear wards/tremor totems to avoid the fear. In case the MT does get feared, the secondary tank needs to be ready to jump in and get Mag back into position.

Lava Bomb

Magmadar will target random members of your raid and launch a bomb at them that explodes on impact and creates fire on the ground. Standing in the fire too long will give your character a debuff that does 3200 damage over 8 seconds. It’s very important not to stand in the fire. Fire pots are helpful here if you are having trouble dealing with this ability.

Frenzy

Finally we have Frenzy. Magmadar will occasionally enrage during the fight which buffs his attack speed and overall damage. Hunters will need to use Tranq shot to dispell the effect.

Wrap up

So to wrap up, stay out of the fire, use Tranq shot to keep Magmadar calm, and have the MT stance dance to avoid being feared. Other than that, it’s just a tank and spank encounter with some good position needing!

post

Molten Core Boss Guide – Gehennas

This is a guide on Gehenna the third boss of Molten Core.

Gehennas is a fight very similar to Luciferon, With a few new abilities thrown into the mix.

This text segment by Darkspy follows up on the video created by Raserisk

The Fight

To start the fight,
The tanks should seperate the Flamewalker adds from the boss
The Adds have a few important abilities to take note of.

Flamewalker abilities:

  • Fist of Ragnaros (Stuns nearby enemies, rendering them unable to move or attack for 4 sec.)
  • Frontal cone attack with a 4 second stun. (Always face Gehennas Guards away from the raid.)
  • Sunder Armor Reduces Armor on target(-1000 per stack) up to 20 stacks

The Adds have fairly small health pools making them fairly easy to burn them down quickly.
When you have MC on farm status, You might consider stacking the adds with the boss and just cleaving them down.

Once the adds are down, Time to focus on the boss.

Ghennas abilities:

Rain of Fire

Fire damage AoE in a targeted area.

Getting caught in this will kill you very quickly, always be aware of your posistioning during the fight.
The tank may need to move the boss if this ability lands on them during the fight.

Shadow Bolt

Inflicts 2250-2750 shadow damage

Targets the tank, and Then random players in the raid.

Shadow resist pots and buffs are helpful against this ability.

Gehennas Curse

An AoE debuff that reduces healing received by 75%

Very important to watch for this ability

Make sure you Decurse the tanks first, then the rest of the raid members.

Wrap Up

It’s a pretty straightforward fight so as long as you keep these abilities in mind and react accordingly, You shouldn’t have any problems.